Just like any mode of transport, vessels require the use of electrical power in order to make their way through waves. Your boat is the same as it comes with a battery that helps start and power the engine as well as your auxiliaries such as the lights and radio.
But since a battery powers more than one thing, it’s important to have a component that will help manage all those power outputs. This is where a battery isolator comes into play. This is a part that in essence is able to divide DC power in different “streams” so that the charge they get is adequate and you don’t need to pair batteries in parallel in order for it to happen.
Advantages of a Battery Isolator

Control
The biggest reason why you’d want to add a marine battery isolator to your vessel is to help manage the flow of electricity. Although it’s just DC power we’re talking about, using a quality battery isolator switch you can make the whole system operate more efficiently. Better control means better use of power which means there’s less power loss.
Protection
Another factor that is deeply affected by the way power is managed is the safety of all the electronics on your boat. With a boat battery isolator, you won’t have to worry about it as much since its purpose is to also protect the battery and the components that get powered by it. This way your vessel is much safer to sail with.
Longevity
With a better-protected electrical system as well as one that functions as efficiently as possible you can expect to prolong the lifespan of any electrical component. A marine battery isolator may not seem like much but it can do all of the above at a top level without experiencing any issues if you know which one to go for and how to set it up.
Types of Battery Isolators
Manual
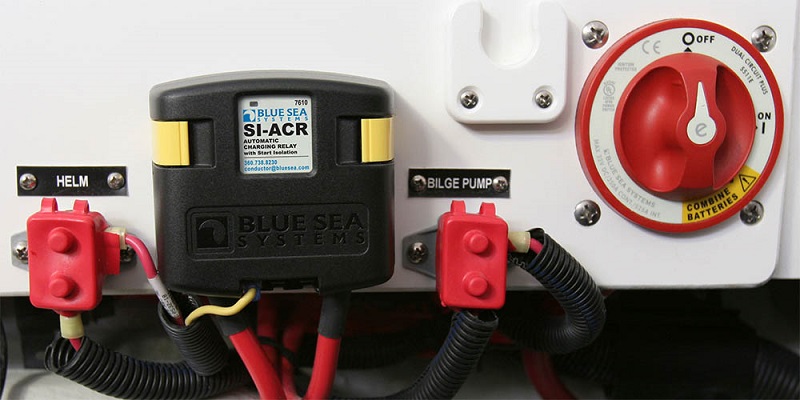
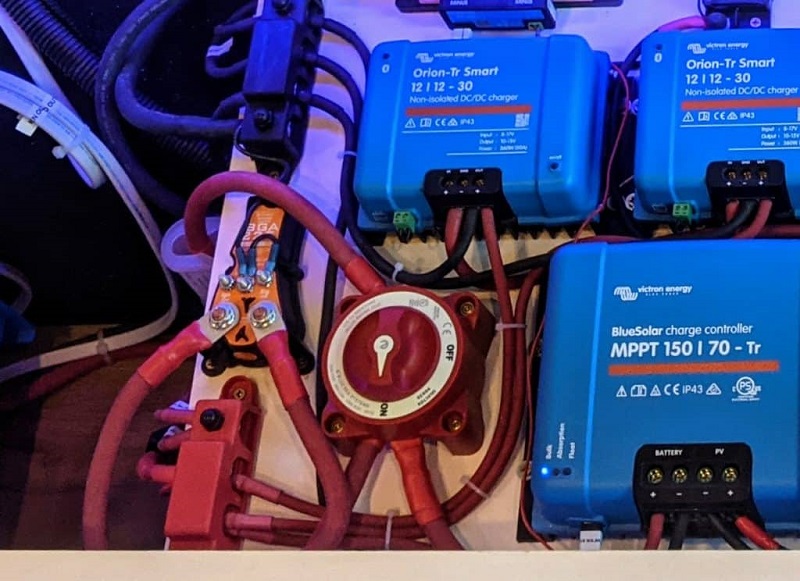
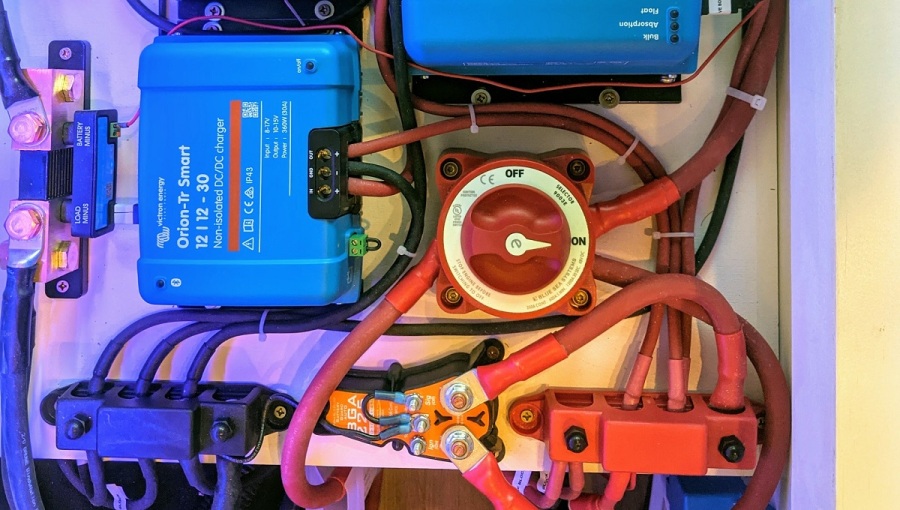
The simplest solution you can get is a manual switch isolator. This is the most common option if you want to have a secondary battery used as a backup. As you’d expect, you need to turn the switch by hand in order to either connect or disconnect the battery. You can even have multiple batteries coupled together with a manual marine battery isolator so that you can switch between them.
Diode-Style
With a diode-style boat battery isolator, you are able to both protect the battery and extend its available power to more areas of your vessel. You can make your current battery more versatile by it being able to power more than just the lights. If you have a small fridge or a portable stove you can easily use a diode-style isolator to send power to them.
Ignition-Switch
As its name suggests an ignition-switch marine boat isolator is one that works much like a manual switch isolator but you power it on at the same time you power on your vessel. An ignition-switch isolator is just more convenient as you don’t have that extra step you have with manual isolators.
Programmable
A programmable isolator switch is able to extract as much power as possible from a battery. This is thanks to their ability to let you program the isolator’s disconnect points which means you get to discharge the battery as much as you want and not as much as the system wants. This way you can also protect auxiliary batteries by not having them fully discharge which is detrimental to their lifespan.
Smart
If you want to protect the alternator from load spikes and arcing as well as solenoids from degrading too quickly you should go for a smart battery isolator switch. These isolators are able to let the charger battery start to charge at first before it lets the auxiliary batteries get some juice. This way the main battery isn’t robbed of much-needed power while everything works as it should with a small initial delay.
The Basics of Wiring a Battery Isolator

Power
Wiring a battery isolator starts with the high current power in terminal first. This is the terminal that you need to connect to the power source which in this case is the battery. Next comes the high current power out terminal which is connected to the device you want to power which in this case is your vessel.
Ground & Current
After you connect both the high current power in and power on terminals you should then connect the chassis ground terminal to the vessel’s body if it’s made of metal. Otherwise, it should be connected to the boat’s ground signal. Lastly, the low current trigger terminal should be connected to a switched 12V power source either via a manual switch or the ignition. When the low current trigger terminal gets power you’re essentially turning the batter isolator on.
